How to use putty
March 26, 2014 at 12:49 | Posted in How-to | 2 CommentsTags: basic putty, epoxy putty, gunpla, How-to, polyester putty, tamiya putty
Putty is one of the most useful things you can have, especially if you’re modifying or customizing your Gunpla. Basically there’s three types of commonly used putty: basic, polyester and epoxy putty. Each has different properties and applications.
Basic putty
Basic putty like this one by Tamiya comes in a toothpaste-like tube and is grey in color. This is the softest and most malleable of the three types of putty.

How to use: Squeeze out a little bit on a mixing tray. Add a few drops of thinner (for laquer-based paints) and mix. Use a toothpick or equivalent tool to apply the putty to the desired spot. Because it tends to sink in as it dries, I usually apply a lot more putty than what appears necessary. After it dries, file/sand/scrape away the excess putty.
Good for: Filling up small and shallow gaps and imperfections e.g seam lines or scratch marks. Can also be used to create a rough surface.
Not good for: Filling large gaps
Polyester putty
Polyester putty comes in two tubes. The bigger one is the actual putty, the smaller tube contains the hardening agent. In terms of consistency, it’s intermediate between basic and epoxy putty.

How to use: Squeeze out the putty (bigger tube) onto a mixing tray. Squeeze out a similar LENGTH of the hardening agent (smaller tube). Mix both of them together with a toothpick until the color starts to even out (same color with the putty tube cap). While it’s still in a paste-like consistency, apply to your Gunpla. A word of caution: you only have 5-10 minutes of working time, before it starts to harden.
After applying the putty, leave it at least 1 hour (I like to leave it overnight). Shape to desired form using hobby blade.
Good for: Filling up big gaps and forming shapes. They’re quite easy to cut and shape using a hobby blade
Not good for: Binding parts together. Also the hardening agent stinks a bit
Epoxy putty
To me, epoxy putty is like the duct-tape of Gunpla. It comes in two separate strips of brown and white, plasticine-like material.

How to use: Take equal amounts of the brown and white parts and mix them together with your hands, just like plasticine. They can be a bit sticky, so maybe using gloves is a good idea. When the two parts are homogenous, apply it to your Gunpla. I usually push them into gaps using a toothpick. After it hardens, trim or shape using a hobby blade. It’s a lot harder than polyester putty, but still manageable.
Good for: Filling large gaps, forming shapes, and binding pieces together. Also odorless
Not good for: Filling fine or shallow gaps. Even after filling large gaps, there may be very small air pockets in the putty. In this case you need to cover those with basic putty.
And there you have it. Needless to say, if you use any of these putties, priming and painting is necessary.
How to photograph GUNPLA
November 18, 2013 at 12:04 | Posted in How-to | 2 CommentsTags: cameras, gunpla, How-to, photography
#The following is based on my own limited experience in photography, so take it with a pinch of salt.
So after spending hours completing your model kit, it’s only natural that you would want to take a picture and show it to random people on the internet. While snapping a photo with your camera phone sounds simple enough, quite often the results don’t do justice to your model kit. The following steps require a bit more time & effort, but you’ll get a blur-free, less noisy, and overall nicer photo of your model kit.
Here’s what I use for my setup:
- Light source : I use a USB-powered flexible lamp. Getting one with controllable brightness is a bonus. You can also use multiple light sources.
- Camera : My go to setup is the Olympus OMD-EM1 mirrorless camera with 12-40mm f2.8 lens. Any DSLR, mirrorless, or compact camera with manual controls will do.
- Sturdy tripod : To stabilize the camera and prevent blurry photos. I’m using the Slik Mini II with a ballhead.
- Background paper : Acts as the background of the photo. Nothing’s more distracting than a gunpla pic with a view of someone’s bedroom. I prefer black or a white-blue graduated background paper.
- Mirror (optional) : A normal mirror to reflect light from the light source to shadowy areas on the model kit.
- Action base (optional) : To give more options in posing the model kit
- And don’t forget the completed model kit.
The setup:
 That’s what my makeshift studio looks like; it’s also my computer table. Here’s a cartoon of what it looks like from the side:

I experimented with a DIY lightbox made from a cardboard box but I ditched it because I couldn’t find space to store it in my cramped apartment. If you have a permanent space for a photo shoot, that’s obviously better.
So here’s what I do for every photo shoot:
1) Drape the background paper over my monitor.
2) Pose the model kit (see below) and put it in front of the camera (on a tripod). A tripod with a ballhead is recommended because it allows you to position the camera more easily to get those good angles.
3) Adjust the position the table lamp so that the model kit is well illuminated. Optional: Position the mirror so that light reflects onto heavily shadowed areas.
4) Setup the camera and *snap*
5) Change the pose and/or camera angle, and take more photos.
Camera settings:
It would be good if you’re familiar with your camera and its various settings. Here’s mine: *Some photography jargon ahead*
- Aperture mode (A), set to small aperture settings (f8-f11) for maximum depth of field.
- Lowest ISO speed available to your camera (e.g. ISO100). This reduces noise & loss of detail of high ISO speeds.
- Set the shutter to 2 second timer. This is to minimize blurring when the shutter is pressed. If your camera has an anti-shock feature, then use it.
- You can set white balance according to the light source (flourescent, tungsten, custom white balance etc). But I just leave it to auto white-balance and edit it later using Lightroom software.
- Turn off image stabilization (lens or in-body). Since the camera is stabilized on a tripod already, I just turn off this feature.
- Focusing: if possible, move the focus point to a specific point, usually the head of the model kit. If not, manually focus to the region of interest.
During shooting, I like to move the position of the camera (attached to tripod) to get interesting angles. I use the wide angles of my lens (24-30mm equivalent) for full-body and action shots and the long end (80mm equivalent) for close-up shots. You can also use a macro lens for close ups, if you have one.
When using the wide-angles, I like to get close to the model & shoot from a low angle to emphasize & exaggerate the perspectives.
You may notice I don’t use a flash (in-body or external flash). Since I’m dealing with a non-human, plastic model, I can get it to hold a pose indefinitely and not worry about shutter speeds.
Posing your model
Another important aspect to photographing your model kit is the pose. This is particularly true for the humanoid-form of Gunpla kits. I think this rather old picture best summarizes how to pose your Gunpla kit:

Another way to put it is, try and imagine that YOU are the Gunpla being photographed. You wouldn’t want to appear limp and toy-like in front of the camera, do you? Other than that, it’s up to your creativity. You can always browse some hobby magazines or internet forums to imitate some nice poses. Or you can fall back to the standard Strike Gundam pose :


And there you have it. It may not be a definitive guide on Gunpla photography, but I find that it works for me. Generally I tend to spend an hour or so for photography because I like to try out different poses and viewing angles. As I mentioned earlier, it takes a bit more time & effort but the end product is definitely worth it. Ultimately, it’s up to you to decide what works best for your needs.
Shizuoka Hobby Show 2012 (Part 2)
May 27, 2012 at 23:30 | Posted in Events | 1 CommentTags: diorama, gunpla, Shizuoka Hobby Show
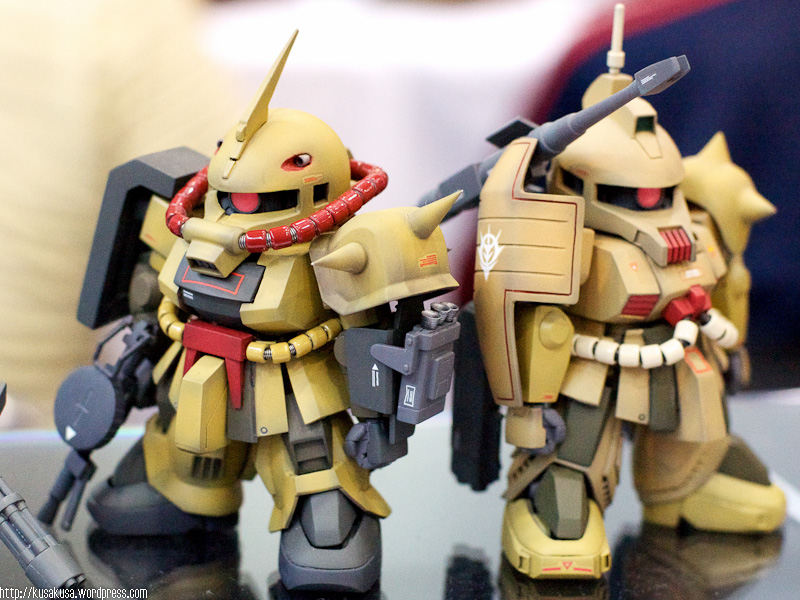
As promised, here’s the second part of my coverage for this years hobby show, featuring works by various modelling circles in Japan. I was gonna cram all the photos I took into this one post, but I realized I took quite a few photos. So this time I’ll post only the gunpla-related photos in this post and post the remaining pics in part 3.
There was plenty of very interesting works by these modellers, and their creativity was really put on show. Apart from your standard, serious, war-themed gunpla, I noticed quite a few gunpla were modded into Mickey Mouse, mahou-shoujo and other wacky stuff. A lot of cool dioramas as well. So without further ado, enjoy the pics:


Modelers-G

Blog at WordPress.com.
Entries and comments feeds.
